Photo Body Retouching Services Explained: Benefits, Process, and Best Tips
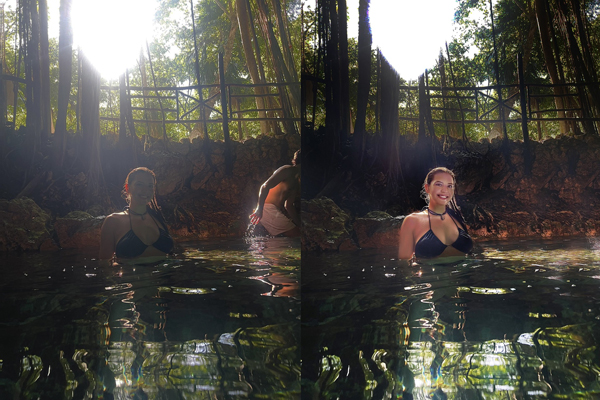
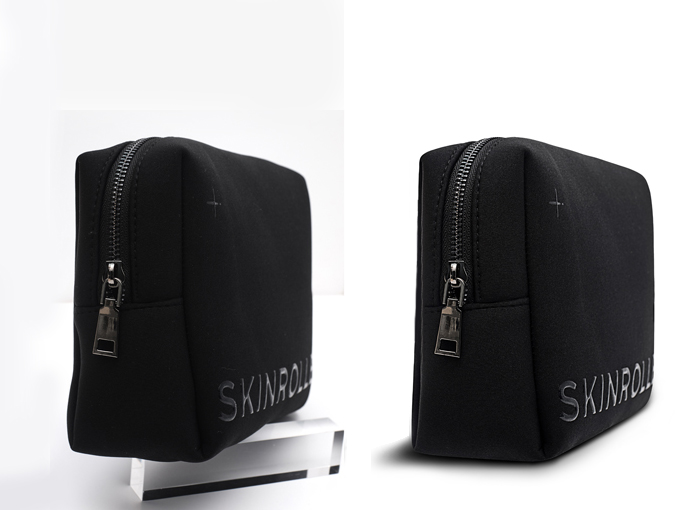
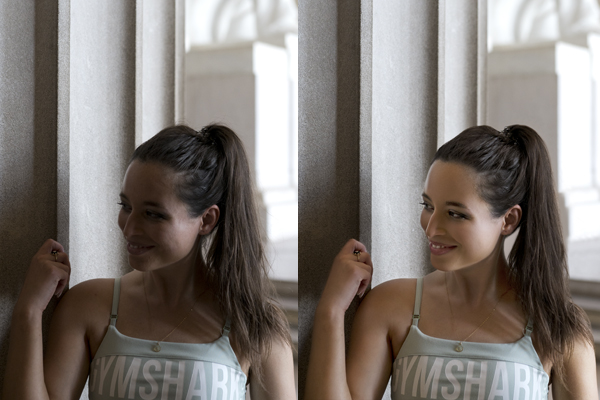
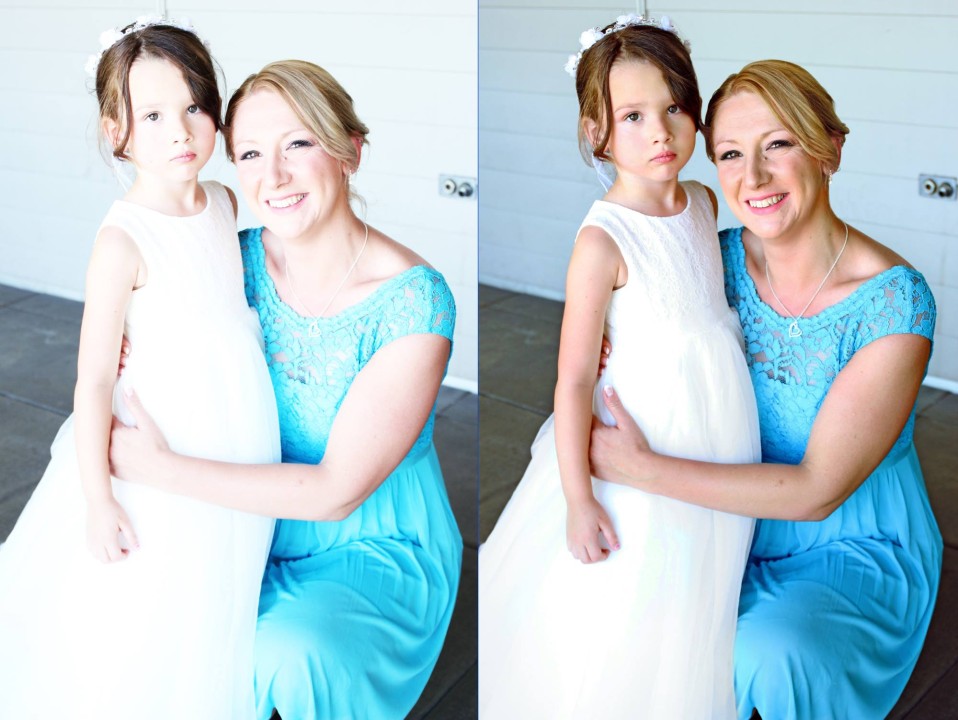
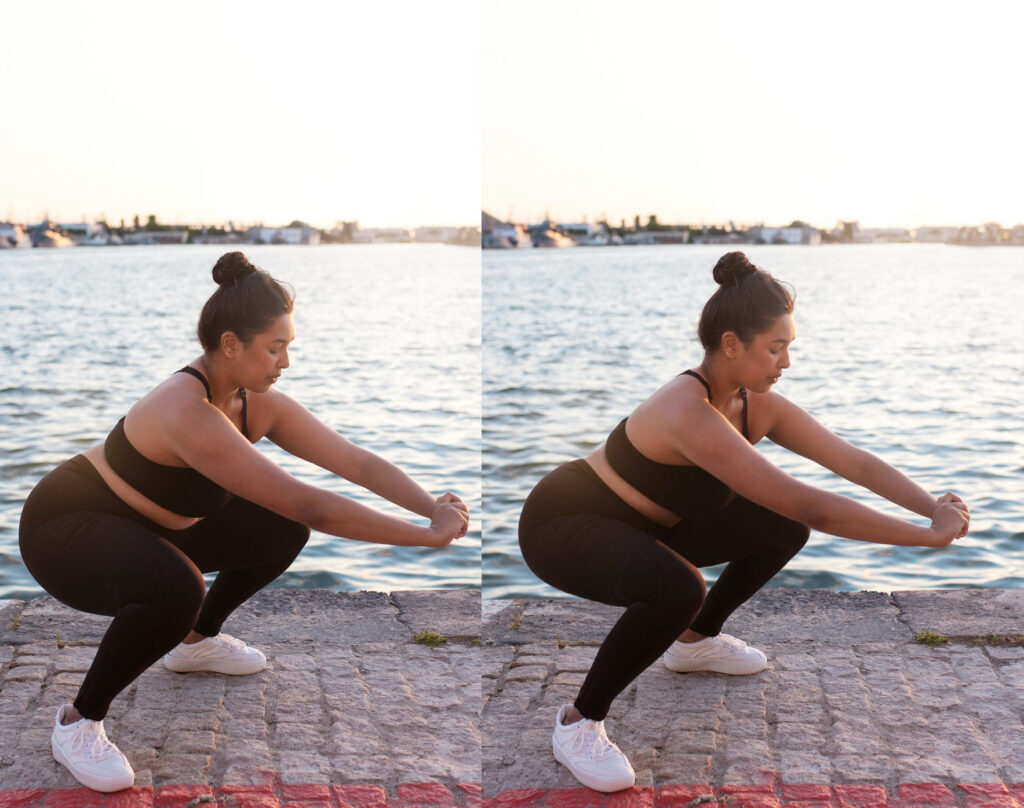
A photo is not just a means of retaining memories; it now carries the identity of personality, professionalism and brand image. This is where “ Photo Body Retouching Services ” plays an important role. Professional retouching is not just the process of making the body slim or perfect, but also an art of making the photo more attractive and eye-catching while maintaining its natural beauty. This service allows you to remove skin blemishes and imperfections, correct body shapes, improve lighting and contrast, and enhance the overall quality of your photos. Sometimes, a small flaw or uneven lighting can ruin the overall impression of your photo, but with proper retouching, those issues can be easily fixed. As a result, your photos will look more professional, attractive, and suitable for social media or business use. Whether it’s fashion and model photography, e-commerce product displays, portfolio shoots, or social media profiles — perfect images capture the viewer’s attention and make you stand out. Using professional body retouching services, you can create not just a photo, but a powerful visual impression. What is photo body retouching and why is it important? Photo body retouching is a professional image editing process that enhances and perfects the body structure, skin, lighting, color, and other elements of a photo. It not only makes the body look slimmer or more perfect, but also improves the overall quality of the photo, making it more natural, balanced, and eye-catching. There is a story behind every photo, and photo body retouching makes that story more beautiful, confident, and memorable. Sometimes, during a photoshoot, lighting, posing, or camera settings can leave imperfections in the image — such as skin blemishes, unwanted shadows, folds in clothing, or abnormalities in body shape. Professional retouching removes all these imperfections, making the image look perfect and professional. This is important because in today’s digital age, a photo carries not only a memory, but also a powerful message. Whether it’s a social media profile, e-commerce product photo, model portfolio, or brand promotion — a perfect and attractive photo captures the viewer’s attention and builds trust. Properly done photo body retouching not only makes you look better, but also boosts your confidence and strengthens the professional image of your personality or product. So it is now not just an option, but a necessity for a successful online presence. The role of body retouching in modern photography Photography is not just about clicking the camera; rather, the subsequent editing steps are equally important to create a perfect and professional image. The most effective and popular of these is body retouching, which improves the quality of the image and makes it more appealing to the viewer. In modern photography, body retouching not only enhances beauty, it also makes the image more professional, impactful, and powerful in telling a story. When the lighting, pose, or angle during a photoshoot is not right, body composition often looks unnatural or skin blemishes, shadows, and imperfections appear. Professional body retouching removes these imperfections and makes the image more balanced, natural, and perfect. Adjusting body shapes, smoothing skin, adjusting lighting and contrast, and improving overall composition — all of these things can take a photo from ordinary to extraordinary. In today’s competitive landscape, whether it’s fashion, advertising, e-commerce, or social media, the visual impact of a photo determines success. A perfect photo captures the viewer’s attention and builds trust in a product, person, or brand. That’s why professional photographers have now adopted retouching as an essential step. After all, body retouching not only enhances modern photography in aesthetics, but also transforms each image into a powerful message and visual story. Techniques to maintain natural beauty, not artificial The main purpose of photo retouching is never to make the image artificial or unrealistic, but to present the natural beauty in a brighter and more balanced way. Many people think that body retouching means excessive editing or unrealistic changes, but real professionalism is not there. The real skill is to retouch in such a way that the beauty of the image is enhanced, while still looking at it as if it were real and natural. Successful retouching is not about changing the image, but rather highlighting its natural beauty as if it was always perfect. Maintaining natural beauty requires meticulous and patient work. For example, removing skin blemishes should ensure that the entire texture is intact, changing body shapes should not look unnatural, and adjusting the lighting and color balance should not distort the image. Excessive smoothing, over-sharpening, or unnecessary color changes can make an image lose its natural appeal. Professional photo retouchers therefore always work on the principle of “less is more.” They change details in such a way that the result is noticeable but does not look artificial. Ultimately, the real trick to successful photo retouching is to enhance the natural beauty without distorting it. A photo is truly captivating when it feels real but still looks perfect — and that balance is the secret to professional retouching. The importance of retouched photos in social media and professional portfolios Social media and professional portfolios are not just a means of displaying images; they are a reflection of our identity, skills, and brand image. In such a situation, a perfect and attractive image can strengthen your presence. Here the role of photo body retouching is essential. Professionally retouched images not only make the eyes attractive, but also hold the attention of the viewer and make the first impression last longer. Every photo on social media and in a portfolio carries a message, and perfectly retouched photos make that message more impactful and memorable. Competition is fierce on social media, where millions of photos are published every day. To stand out in this competition, you need perfect retouching. Skin blemishes, shadows, light-color inconsistencies, or even minor body flaws can distract the viewer. Professional body retouching removes all these flaws and makes the photo balanced, natural, and eye-catching. For a portfolio or social profile, retouched photos convey a professional